
[Last updated: 28/03/19]
This tutorial is a step from my other tutorial: Mini Portable Multimedia Server Plex Raspberry Pi 3.
To configure Plex Server on your Raspberry Pi, follow the steps below.
1st start :
When you log in for the first time on the Plex Server, you are on the page named “How Plex Works”, go to the bottom of this page and click on the “GOT IT” button.

If you have a “Plex Pass” popup just click on the cross at the top right.

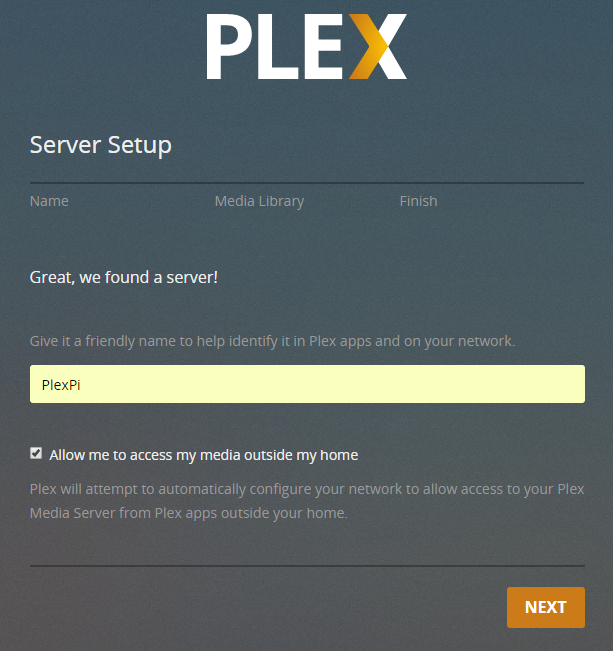
You are now on the Plex configuration page where you are asked to enter the name of your Media Center. Enter the name of your choice.
Check the box “Allow me to access my media outside my home” , as part of this project, this will allow us to access our medias via an Internet Explorer.
Go to the bottom of the page and click on the “NEXT” button.
On the next page you can manage the libraries that will host your media, we will create them later, so on this page we delete all those created by default by clicking on the red cross of each library
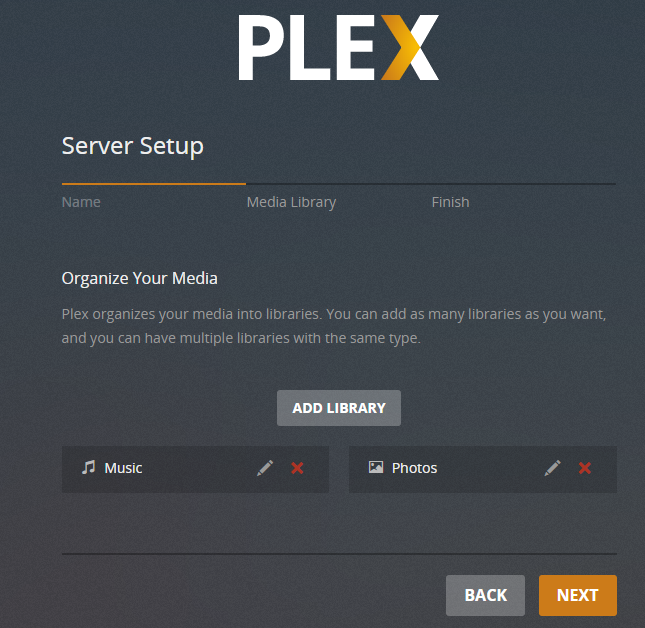
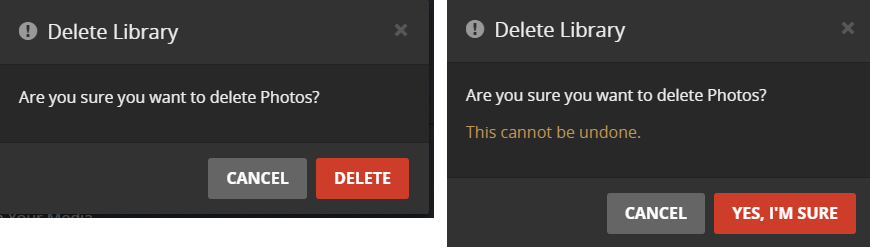
Then confirm your choice by clicking on the button “DELETE” then “YES I’M SURE”.
That done, Click on the “NEXT” button at the bottom of this page.
On the next page, PLEX informs you about the existence of the Plex Client App for ease of streaming your media, read to be aware and click on the “DONE” button.
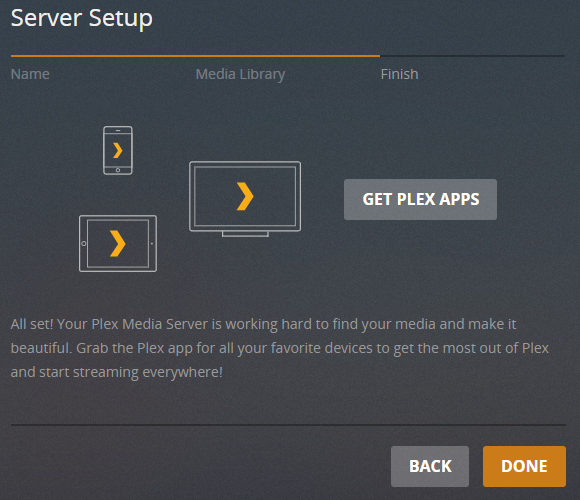
You arrive on the home page of your Plex Server.

Disabling the customer’s internet check:
Since our server will be portable, it will not be connected to the Internet. In order for clients connecting to it to access the media, Internet authentication must be disabled.
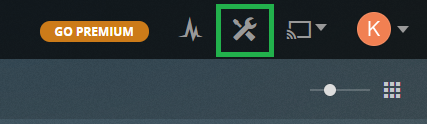
To do this, in the upper right corner, click on the options logo.
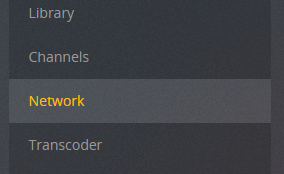
In the new window, on the left side, click on ‘Network’
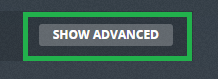
Then in the right part click on “Show advanced”.
On the new page, scroll down to find the box “List of IP addresses and networks that are allowed without auth”.
In this box enter the IP address of your network as well as the mask. If you followed my wifi access point configuration tutorial, you should enter the next value : 192.168.4.1/255.255.255.0

Then click on the “Save Changes” button.

You can go now to adding new libraries.