
[Last updated: 02/12/2019]
Prerequisite for this tutorial : Prerequisite material
Connect the keyboard, screen and mouse to the Raspberry Pi. Not yet the power supply ans the SD card.
Quick Link : Installation with MacOS
With Windows :
1 : Download RASPBIAN XXX LITE (where XXX is the name of the version) on the site of Raspbian;
2 : Download Win32DiskImager;
3 : Install Win32DiskImager on your PC;
4 : With 7Zip (downloadable here) or another decompression software, unzip the compressed (.zip) file of Raspbian Jessie. You will get a folder with a .img file.
5 : Insert your SD card into the reader of your PC;
6 : Start Win32DiskImager;
7 : Once launched, click on the button File;
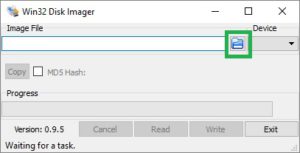
8 : In the new window, select the .img file unzipped in step 4.
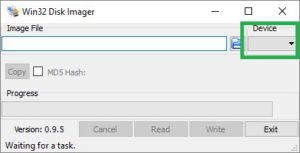
9 : Under “Device” select your SD card;
10 : Click on the Write button, and confirm by clicking Yes if a warning message appears;
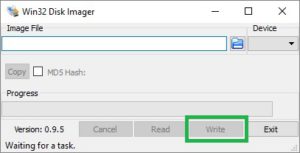
11 : In the frame Progress you will see the progress of the installation;
12 : Once fully completed, you will see Done in the lower left corner;
13 : Close Win32DiskImager by clicking on the Exit button;
14: Optionally enable the SSH before removing the SD card from the PC;
15 : Take out the SD card of your PC and insert it into your Raspberry Pi.
Start the Raspberry PI by connecting the micro USB power cable.
Then go to the next tutorial (Raspbian Configuration).
Feel free to share this tutorial. Thank you 🙂
With MacOs :
1 : Download RASPBIAN … LITE on the site of Raspbian;
2 : Download SDFormatter and install it on your Mac;
3 : Download Etcher and install it on your Mac;
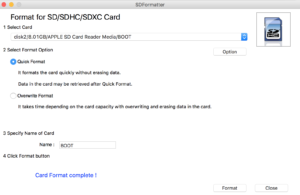
4 : We will format the SD card, start SDFormatter.
At the start of the application you will need to enter the login and password of yourMac administrator account;
Note that “SDFormater” will erase all data from your SD card, so plan to make a copy of the data if necessary.
5 : In the window of the application, the point 1 Select Card is filled. If not, select yourSD card;
6 : In the point 2 Select Format Option, select Quick Format;
7 : In the point 3 Specify Name of Card“enter a representative name;
8 : Finally, click on the Format button. When formatting is finished, you will see the following message: Card Format Complete!;
9 : Close SDFormatter and start Etcher;
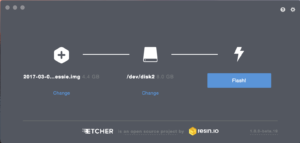
10 : Click on the left icon and go select the Raspbain image uploaded at the point 1, thisis the file that has the extension .IMG;
11 : The Central icon of Etcher should normally already point to your SD card, if this is not the case, click on Change and select your card SD;
12 : Now click the right icon Flash! and wait the end for the installation operation and validation;
Image installation :
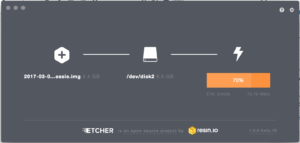
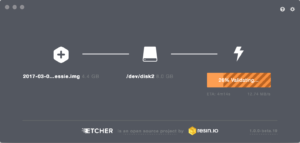
Image validation :
13 : At the end Etcher tells you that all operations have been completed:

14: Optionally enable the SSH before removing the SD card from the PC;
15 : Take out the SD card of your Mac and insert in your Raspberry Pi.
Starts the Raspberry PI by connecting the micro USB power cable.
Then go to the next tutorial (Raspbian Configuration).
Feel free to share this tutorial. Thank you 🙂