
You need a screen for your crafts, for your media center, for your Raspberry Pi, as second screen for your PC ?
What you need :
- An old laptop with a screen in good condition;
- A controller / adapter card (see below what it is exactly);
- A power supply for the controller card;
1: Disassembly of the screen
This is the trickiest part of this tutorial, you must remove delicately the screen of the PC.
Each PC is made differently, so it’s hard to tell you how to proceed.
My advise for this step will be to proceed delicately.
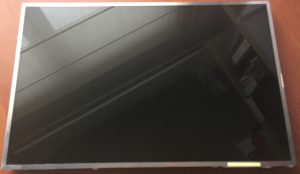
Once the slab has been dismounted, you will find on it, on the back, a sticker on which you will find the model number.

2: Find the good controller
The advantage is that most of these controllers are equipped with DVI, VGA and HDMI connection, so we can connect a lot of things.
It looks like this:

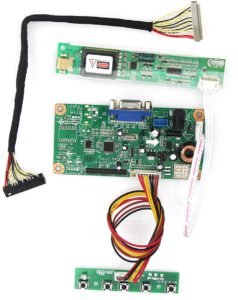
With the model number, search on the internet with keywords “controller board” followed of the model of your screen model in my case I searched on “controller board LTN170X2 L02”.
It is likely that you will find this card without problems on the auction site for +-40€.
Once you find it, make sure that it is accompanied by the power supply. In my case, it was a 12V DC 2A.
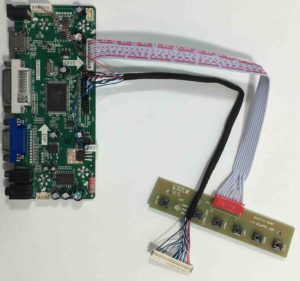
3: Connection of the controller to the screen
Put the screen back side upward.
Paste the card on the screen. Personally I used double-sided paper sticky to stick the card on the back side of my screen, but feel free to do as you want 🙂
Connect the different cables and the power supply.
It will look like this:
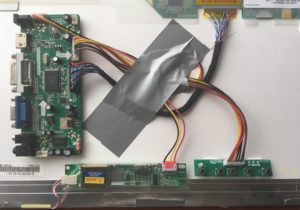
OK, your new screen is ready. Exactly what I needed for my Raspberry Pi 😀
Feel free to share this tutorial. Thank you 🙂